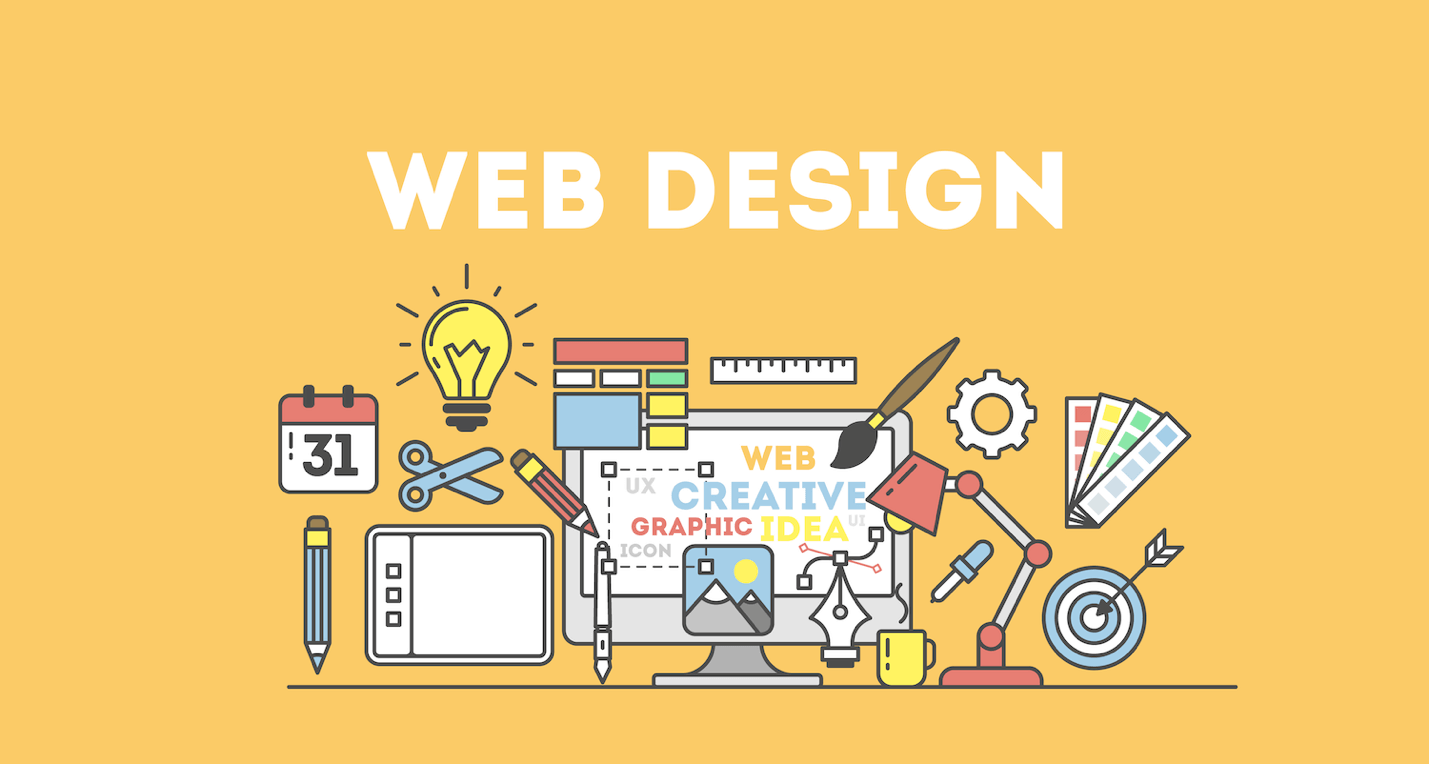
Creating a website from scratch has never been easier, even without knowing how to code. With the right tools and platforms, you can build a fully functional website that represents your business or personal brand. Here’s a step-by-step guide on how to create a website without any coding skills, along with the benefits of having an online presence.
Why Do Businesses Need an Online Presence?
An online presence is essential for businesses today. Here are a few reasons why:
- Global Reach: An online presence expands your business beyond geographical limitations, reaching potential customers worldwide.
- Credibility: Having a website boosts the credibility of your business. Consumers tend to trust businesses with a digital footprint.
- Increased Sales: With the growth of online shopping, more customers are opting for digital transactions. In fact, during the pandemic, digital buyers increased by 25%.
- Customer Interaction: A website provides a direct communication channel with your customers, which can increase engagement and trust.
Benefits of Owning a Website
- Promote Your Business: Your website serves as a powerful marketing tool, allowing you to showcase your products and services globally.
- Increased Credibility: Having a professional-looking website boosts your credibility, making your business appear trustworthy.
- Customer Engagement: It provides a platform for customers to reach you through contact forms, support pages, and chat features.
- Competitive Edge: Your website helps you compete with competitors, especially those already online.
- Increased Traffic: More people prefer shopping online, and having a website allows you to tap into this growing market.
How to Create a Website from Scratch Without Coding
Follow these simple steps to build your website from scratch using easy-to-use website builders and content management systems (CMS).
Step 1: Choose a Domain Name
Your domain name is your website’s identity on the internet. It’s how people will find you, so it’s crucial to pick a name that’s easy to remember and reflects your business. Here are a few tips:
- Keep it simple and avoid numbers or hyphens.
- Make sure it’s relevant to your business, so people can easily understand what you offer.
- Aim for a short and memorable name that’s easy to type.
Step 2: Pick a Hosting Service Provider
Web hosting is where all your website files will be stored. Some popular hosting providers include:
- Bluehost
- HostGator
- Hostinger
Choosing a reliable hosting provider ensures your website runs smoothly and is accessible at all times.
Step 3: Install WordPress
WordPress is the most popular content management system (CMS) for building websites without coding. It’s user-friendly, flexible, and offers a vast array of free plugins and themes.
- WordPress.com is the paid version, but WordPress.org is free and offers full control over your website.
Install WordPress via your hosting provider’s control panel. Many hosting services offer a one-click installation option.
Step 4: Choose a WordPress Theme
Your theme defines the look and feel of your website. WordPress has numerous free and paid themes. For beginners, the Hello Theme or Twenty Twenty-Two theme is a good choice.
- Go to Appearance > Themes in the WordPress dashboard.
- Browse and activate your preferred theme.
Customizing your theme is simple. You can change colors, fonts, and layout through the WordPress customizer.
Step 5: Install a Website Builder (Elementor)
Elementor is a popular drag-and-drop website builder plugin for WordPress that makes it easy to design and customize your website without coding. Here’s how to install it:
- Go to your WordPress dashboard, click on Plugins > Add New.
- Search for Elementor and click Install Now.
- Once installed, click Activate.
Elementor allows you to drag and drop elements like text, images, and buttons directly onto your pages, making it a perfect tool for beginners.
Step 6: Create Essential Pages
Now that your theme and builder are set up, you can start adding pages to your site. At a minimum, you should have:
- Home Page: The main page that introduces your business and services.
- About Page: A page that tells visitors more about your business, mission, and values.
- Contact Page: A page with a form or contact details for customers to reach you.
- Product/Service Page: If you’re selling something, create a page showcasing your products or services.
Step 7: Customize Your Site
Using Elementor, you can now customize your site. Here are some tips:
- Add a navigation menu (under Appearance > Menus) for easy browsing.
- Use the Elementor editor to customize text, images, and layout.
- Add call-to-action (CTA) buttons to encourage visitors to take action, like signing up for a newsletter or making a purchase.
- Install plugins to enhance your website, such as SEO plugins (like Yoast SEO) and security plugins.
Step 8: Launch Your Website
Once you’ve customized your site and added all necessary pages, it’s time to publish it. Make sure to preview the website on different devices to ensure it’s mobile-responsive and looks great everywhere.
Additional Tips:
- SEO Optimization: Use SEO plugins to improve your site’s search engine ranking and drive more traffic.
- Analytics: Set up Google Analytics to track your website’s performance and see how visitors interact with your site.
- Security: Install security plugins to protect your site from hackers.
Conclusion
Building a website from scratch without coding is entirely possible with tools like WordPress and Elementor. By following these simple steps, you can create a professional-looking website that serves as a powerful asset for your business. Whether you’re a beginner or an experienced business owner, these tools make it easy to establish an online presence and reach a wider audience.